

transaction:select-withdrawal-destination flow, where users can select or unlink a previously linked PayPal account directly in the widget. After the user confirms a PayPal withdrawal quote, the Payment Widget creates the transaction and completes the PayPal authorization — whether the account is new or already linked — via the transaction:authorize flow.
The transaction flows were renamed to the
<context>:<action> format. The previous names still work, as aliases with the same behavior and complete payload, but they are deprecated and will be removed in a future release:To migrate, change the
flow of the Create session request and, with the Web SDK, the PaymentWidget generic type. See Flows.Prerequisites
- The user has completed onboarding.
- The
paypal-withdrawalscapability is enabled. - A funded account to debit the funds from.
- The Payment Widget is set up in your frontend. See Installation and setup.
Walkthrough
The diagram shows a first-time authorization. For an already-authorized account, skip the sign-in — the widget only collects device data and reuses the stored authorization.Select source account
PayPal withdrawals can be sourced from any account. If the selected account is not in the PayPal account’s currency, the balance will be converted at the time of the transaction using Uphold’s prevailing rate. Make sure the origin asset has the necessary features enabled. Call List accounts to retrieve the user’s accounts and let them pick the one to withdraw from.Select withdrawal method
The Payment Widget’stransaction:select-withdrawal-destination flow presents the available payment methods, letting the user select PayPal when it’s available. It performs selection only: it does not create the quote or the transaction.
Create a widget session
Call Create widget session to start thetransaction:select-withdrawal-destination flow. To customize the theme and layout, see Create a session.
session object with a url field that loads the widget. Return response.session to your frontend as is.
Set up the widget
Both examples above are for web applications — either creating the iframe yourself or letting the SDK do it. For native apps using a WebView, see Native apps with the Web SDK for the SDK’s native-bundling pattern, or Setup without the SDK for the no-SDK approach that loads the session
url directly as the WebView’s top-level page.Handle the complete event
Thecomplete event fires after the user selects PayPal. The event payload includes the selected PayPal external account — if it has already been previously authorized.
Handle cancellations
Handle errors
Theerror event fires for critical unrecoverable errors.
Create a quote
Call Create quote with the user’s account as the origin and PayPal as the destination. There are two ways to specify the PayPal destination:-
apmshortcut — usetype: "apm"withmethod: "paypal". This is always accepted, whether or not the user already has a linked PayPal account. -
external-accountreference — if the user already has a linked PayPal account, you can reference it directly withtype: "external-account"and itsid(from List external accounts):
apm shortcut.
requirements array. If it contains authorize:paypal, the user must authorize PayPal before the transaction can be created.
Present the order summary
Before creating the transaction, display an order summary of the quote — the amount, fees, and the origin and destination — so the user can review it. Here’s an example: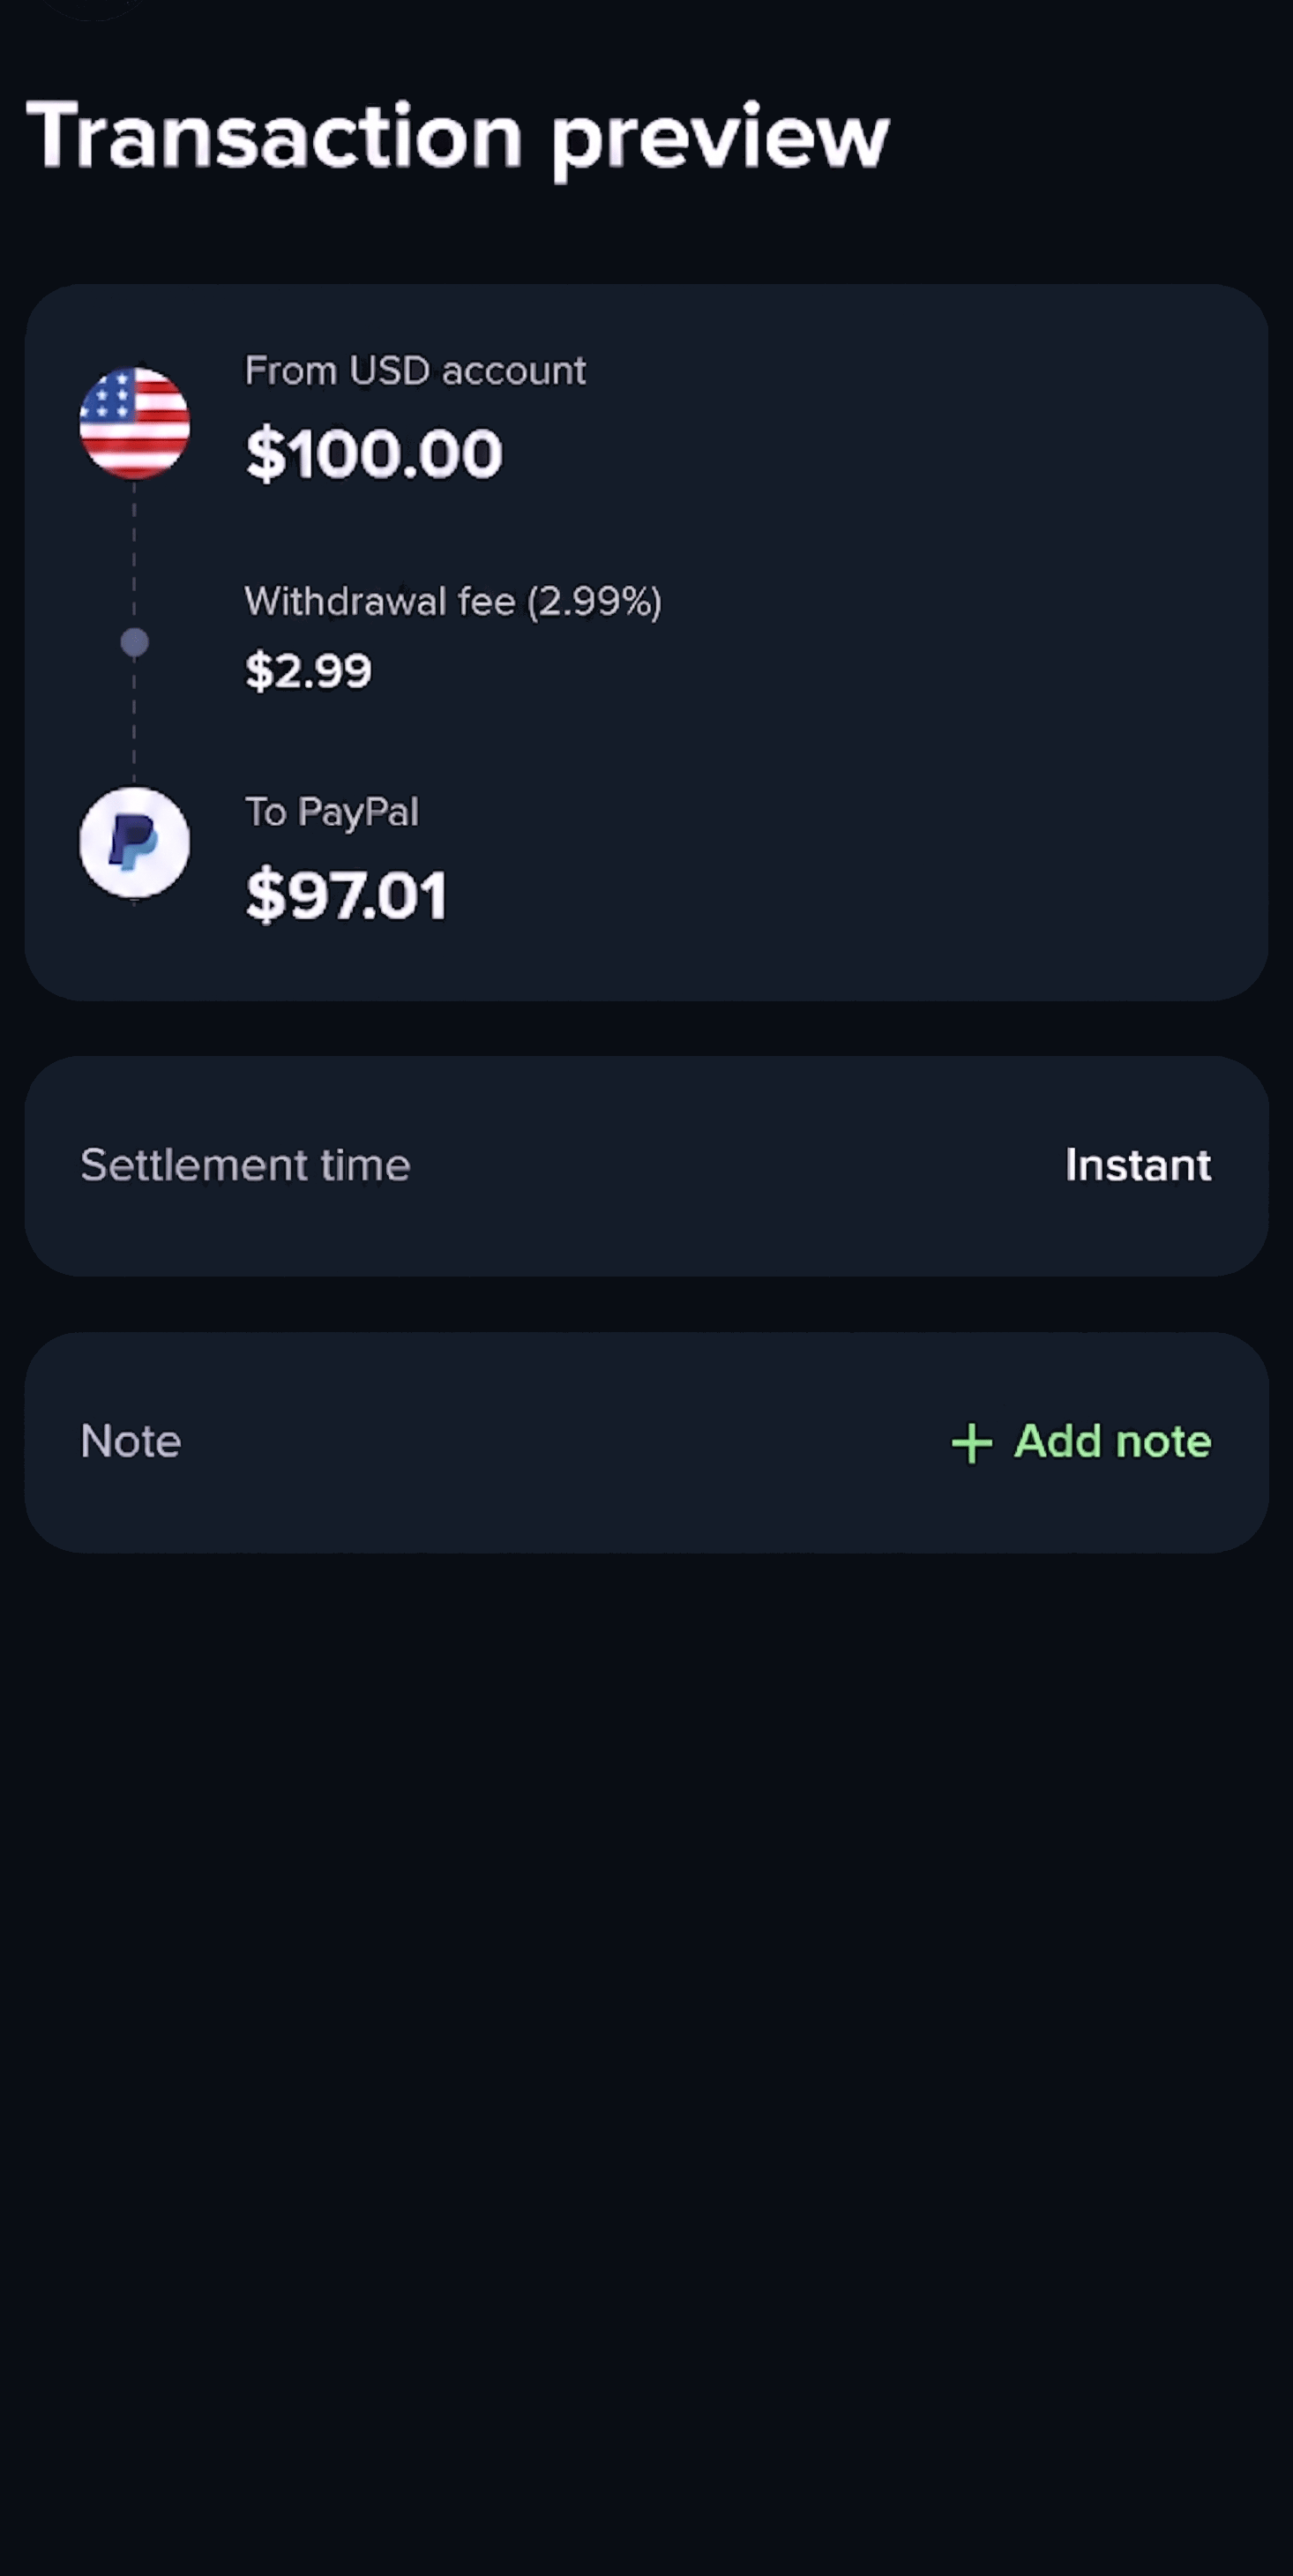
Quotes are short-lived. Use
refreshAt to drive re-quoting: if the user hasn’t confirmed by then, create a new quote and show the updated amounts, since there’s no refresh endpoint. The quote’s expiresAt is equal to or later than refreshAt, to give the user time to complete an external action needed to proceed, such as authorizing an APM payment.Authorize and create the transaction
After the user confirms the PayPal quote, hand off to the Payment Widget’stransaction:authorize flow. It creates the transaction, runs the PayPal authorization, and polls until a terminal status is reached — so the same flow works for both new and already-authorized accounts.
Create an authorize session
Call Create widget session to start thetransaction:authorize flow, passing the quoteId and adding authorize:paypal to the requirements array. To customize the theme and layout, see Create a session.
session object with a url field that loads the widget. Return response.session to your frontend as is.
Set up the widget
Initialize the widget with the session. The widget interacts with PayPal, creates the transaction, and polls until a terminal status is reached. For a new account the user signs in to PayPal to authorize; for an already-authorized account they do not sign in again — the widget only collects device data and reuses the stored authorization.Both examples above are for web applications — either creating the iframe yourself or letting the SDK do it. For native apps using a WebView, see Native apps with the Web SDK for the SDK’s native-bundling pattern, or Setup without the SDK for the no-SDK approach that loads the session
url directly as the WebView’s top-level page.Handle the complete event
transaction.statusDetails.reason:
Handle cancellations
Thecancel event fires when the user navigates back without completing authorization.
Handle errors
Theerror event fires for critical unrecoverable errors.
Most failures in this flow surface with a generic code: 'error' and a descriptive message. Transaction-creation failures are the exception: they use code: 'authorize_transaction_failed' with event.detail.error.details.reason: 'unable-to-create-transaction'. As with any Widget error, the original failure is preserved in event.detail.error.cause — for unable-to-create-transaction, event.detail.error.cause.code is one of:
Monitor for settlement
PayPal withdrawal transactions remain inprocessing while the payment settles. Monitor until the transaction reaches a terminal state.
- Webhook events (recommended):
- core.transaction.created —
status: processing→ transaction created, pending settlement - core.transaction.status-changed —
status: completed→ funds settled;status: failed→ irrecoverable error
- core.transaction.created —
- Polling (fallback): Get transaction
Sample transaction
In a successful PayPal withdrawal, the origin is the user’saccount and the destination is the external account representing the user’s PayPal account.
Notify the user
After the transaction completes, display the transaction details to the user so they can confirm the withdrawal succeeded. It must include the PayPal logo and the PayPal account email used. Here’s an example: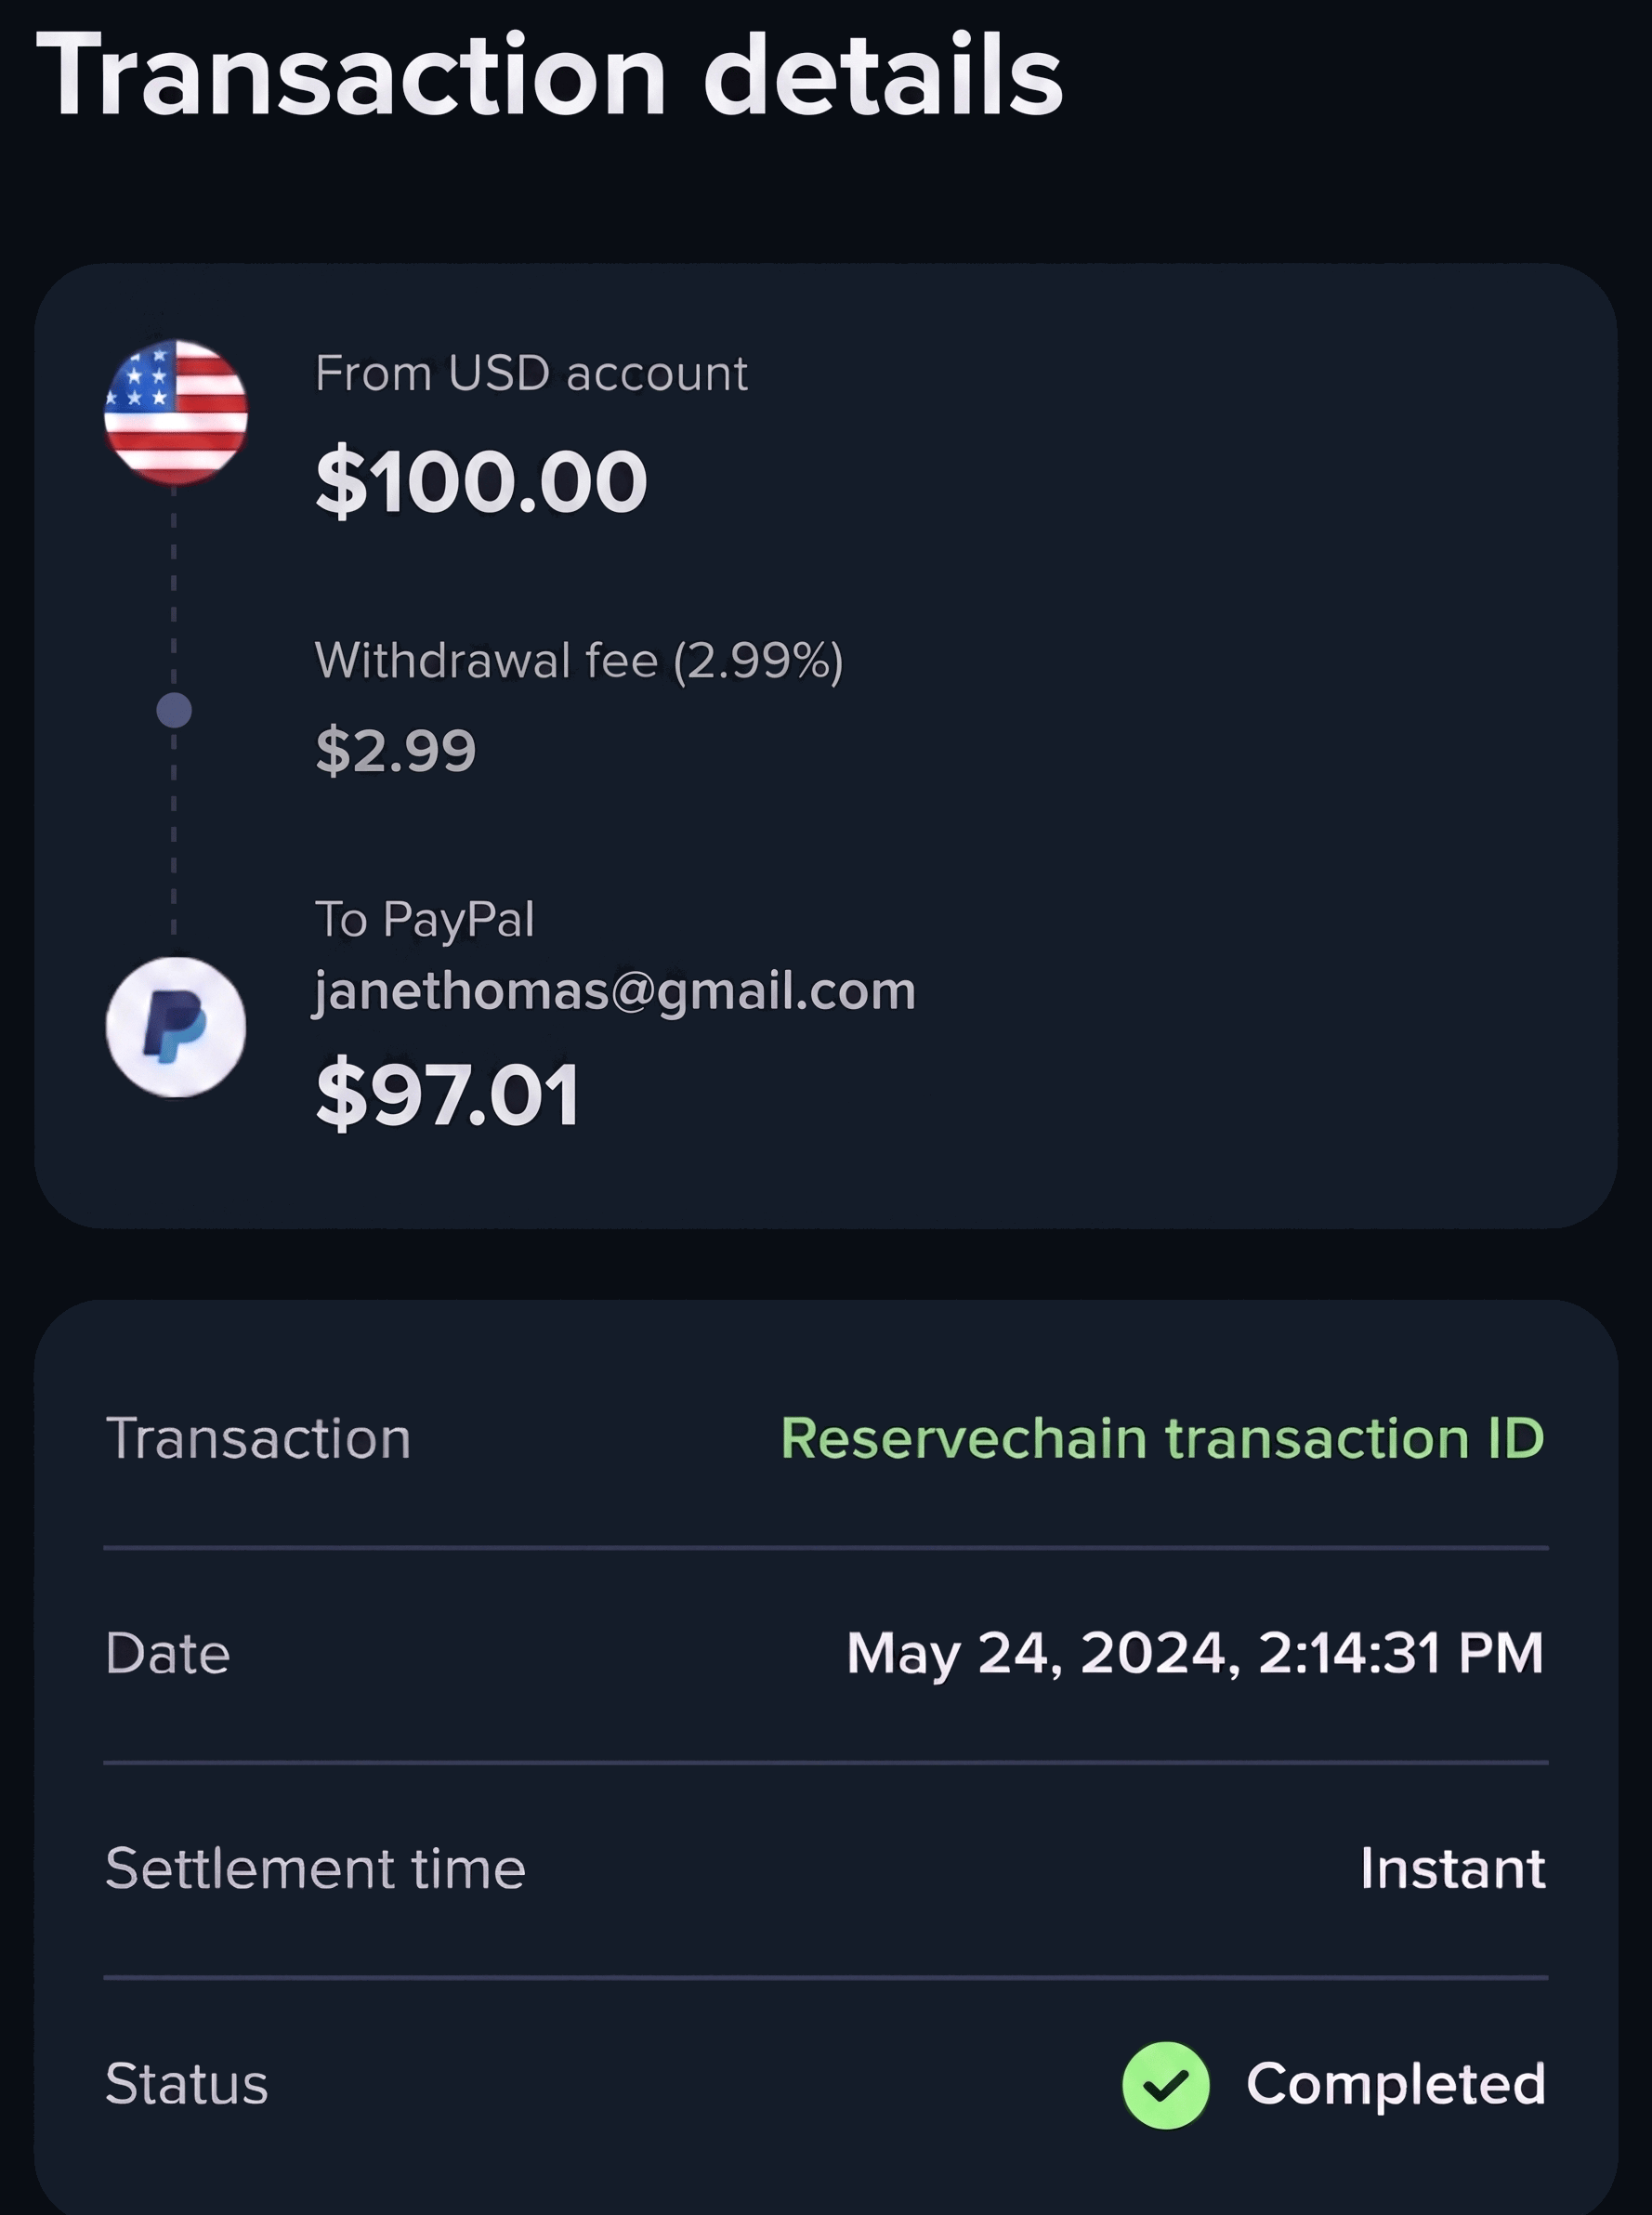
You now support PayPal withdrawals via the Payment Widget.
Request errors
Create quote and Create transaction reject a request with an HTTP error when it can’t go ahead, in which case no transaction is created. The table only lists the errors your integration should act on, such as by showing the user a message. The other errors usually point to an issue in your integration. See the API reference of each endpoint for the full list. The Payment Widget creates the transaction, so the errors of Create transaction reach you through itserror event instead: an authorize_transaction_failed error whose event.detail.error.cause is the original error, with the status in httpStatusCode and the same code and details as in the table. The errors of Create quote are returned to your backend as usual.
Failure reasons
A transaction that was created can still fail afterwards: itsstatus becomes failed, or on-hold when information is requested, and statusDetails.reason says why. You learn about it through the core.transaction.status-changed webhook, or by polling Get transaction. The table only lists the reasons your integration should act on, such as by notifying the user.